 Ferndale
 Siding Repair in Lynden: A Job Whatcom County Weather Makes Necessary
Lynden sits out in the open farmland of Whatcom County, away from the more sheltered, tree-lined lots closer to Bellingham Bay. That exposure matters. Homes here take the full brunt of driving rain moving in off the Salish Sea, long stretches of damp, low-sun winters that keep siding wet for days at a time, and a moss season that can run from early fall clear through spring. Add in the salt-tinged marine air common across this part of northwest Washington, and you have a climate that is genuinely hard on exterior siding — regardless of what it's made of.
Siding repair in a climate like this isn't just cosmetic touch-up work. It's diagnostic work. A cracked panel or a soft spot near the bottom of a wall is rarely the whole story — it's usually the visible end of a moisture problem that's been developing behind the surface for a while. Repairing it correctly means figuring out how water got in, not just covering the spot where it got out.
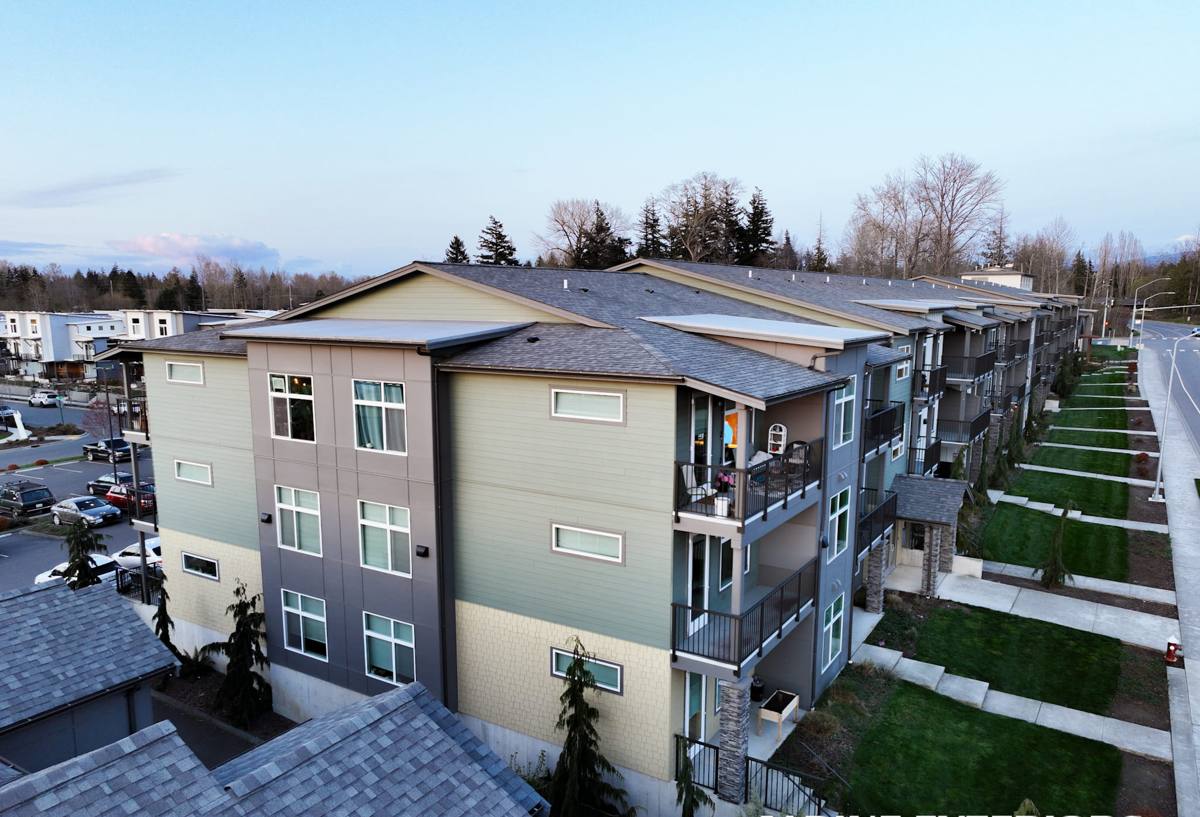
What the Local Climate Does to Different Siding Materials
We get called out to look at every type of siding used around Whatcom County, and each material fails in its own predictable way once it's been through enough wet seasons.
| Siding Material | Common Failure Mode in This Climate | How Repairable It Typically Is |
|---|---|---|
| Wood (cedar, spruce) | Rot at butt joints and bottom edges, paint failure, moss holding moisture against the surface | Fair — sound sections can sometimes be patched, but rot spreads under paint before it's visible |
| Vinyl | Cracking in cold snaps, warping from heat, water tracking behind panels at seams | Limited — color-matching aged panels is difficult and cracked sections usually need full-panel replacement |
| LP SmartSide / OSB-based | Edge swelling and delamination once moisture reaches the engineered wood core | Poor once swelling starts — the damage is structural to the panel, not surface-level |
| Fiber cement (James Hardie) | Caulk and flashing failures at joints and trim, rather than the panel material itself | Good — the board resists rot and moisture absorption, so repairs are usually about sealant and flashing, not the siding itself |
That last row is a big part of why we standardized on James Hardie fiber cement for anything we install or replace. Fiber cement doesn't rot, doesn't swell, and doesn't feed moss the way wood fiber does — so when we do get called back to a Hardie-clad home, it's almost always a caulking or flashing detail, not the board itself.
Signs Your Siding Needs Repair, Not Just Cleaning
Homeowners in Lynden often assume moss and staining are just a maintenance issue that a wash will fix. Sometimes that's true. But a few signs point to something underneath that needs actual repair:
- Soft or spongy spots when you press on the siding, especially near the bottom courses or below windows
- Paint or finish that's bubbling, peeling, or flaking in one concentrated area rather than evenly across a wall
- Moss or dark staining concentrated at seams, laps, or trim joints rather than spread across the whole surface
- Visible gaps or separation where siding meets trim, corner boards, or window and door casings
- Cracked, split, or missing panels or boards
- Warm or cold drafts near exterior walls, or a noticeable jump in heating costs, which can point to moisture-saturated insulation behind the siding
- Interior signs — musty smell, discoloration on interior drywall — near an exterior wall with siding problems
Any one of these on its own might be minor. Two or three together, especially clustered in the same area, usually mean water has been getting behind the siding for a while.
What a Correct Siding Repair Actually Involves
A repair that only replaces what's visible from the street tends to fail again within a season or two, especially with the amount of wind-driven rain Whatcom County sees. A repair done right involves a few steps that aren't optional, even on a small job:
1. Tracing the moisture path
Before anything gets replaced, we work out how water is actually getting in — a failed caulk joint, a flashing detail that was never installed correctly, a nail hole that opened up, or a seam that was never lapped the right direction for our prevailing weather.
2. Checking what's behind the siding
Once panels or boards come off, we look at the house wrap or weather-resistive barrier underneath. If that layer has failed or was installed poorly the first time, replacing the siding without fixing what's behind it just resets the clock on the same problem.
3. Matching material and reinstalling to spec
Fasteners, flashing laps, and caulk joints all have a manufacturer-specified way to go back together. Skipping that spec to save time is one of the most common reasons a "repaired" section fails again.
4. Verifying the fix before closing it up
We check that water sheds away from the repaired section correctly — not just that it looks patched — before considering the job finished.
Repair vs. Replacement — How We Decide
Not every siding problem in Lynden calls for a full replacement, and not every problem should be patched. We walk homeowners through the same factors every time:
| Factor | Points Toward Repair | Points Toward Replacement |
|---|---|---|
| Extent of damage | Isolated to one or two areas | Spread across multiple walls or elevations |
| Age of existing siding | Still well within its expected service life | Near or past the age where the material typically starts failing broadly |
| Moisture behind the siding | Localized, and the barrier underneath is intact | Widespread rot or a failed weather barrier found during inspection |
| Material match | Existing material and color can be reasonably matched | Product discontinued, faded beyond match, or original material no longer something we install |
| Cost relative to full replacement | Repair cost is a small fraction of replacement | Repair cost starts approaching a meaningful share of a full re-side |
When damage is contained and the underlying structure is sound, repair is the honest recommendation — there's no reason to sell a homeowner a full re-side they don't need yet. When the damage points to a systemic moisture problem, we'll say so plainly and lay out what replacement would look like.
Our Repair Process
- Inspection. We look at the damaged area and the surrounding siding, plus trim, flashing, and any interior signs of moisture.
- Diagnosis. We identify the actual water path — not just the symptom — before quoting anything.
- Written scope. You get a clear explanation of what's being repaired, what's being replaced, and why, before work starts.
- The repair itself. Matched material where possible, correct flashing and fastening, and sealants rated for our climate rather than whatever was on the shelf.
- Final check. We confirm the repaired area sheds water correctly before we call the job done.
Why We Only Repair and Replace With James Hardie Fiber Cement
We don't install vinyl, LP SmartSide, cedar, or primed spruce siding, and that shapes how we handle repairs too. When a repair reveals that the underlying material — wood, engineered wood, or vinyl — has reached the point where patching is just delaying a bigger problem, we're honest about it rather than continuing to chase failures on a product we don't stand behind long-term.
James Hardie fiber cement is what we recommend when replacement makes sense, for straightforward reasons: it's non-combustible, it doesn't absorb moisture the way wood or OSB-based products do, and the ColorPlus factory finish holds color far longer than field-applied paint has to in this climate. Hardie's HZ product lines are engineered specifically for climate zones like ours — the wet, moss-prone Pacific Northwest — and the manufacturer backs it with a strong transferable warranty when it's installed to spec. None of that is a knock on other materials; it's simply the standard we've chosen to build our business around, because it holds up to repeated wet-dry cycles better than the alternatives we used to install.
What Correct Hardie Installation Looks Like
The warranty and performance Hardie is known for only hold up when the product is installed exactly to manufacturer spec — proper clearances, fastener patterns, and joint treatment. A rushed or improperly flashed Hardie install can still develop the same caulk or trim failures we see on other materials, which is why installation quality matters as much as the product choice itself.
Why Hiring a Crew That Already Works in Lynden Matters
Siding repair isn't a one-size-fits-all trade. A crew that's used to a drier climate, or that mostly works on tract-home developments with consistent products, isn't necessarily prepared for the mix of older farmhouses, additions, and varied siding types you find across Lynden and the surrounding Whatcom County countryside. Local experience means:
- Familiarity with how driving rain and moss actually behave against different wall orientations here, not just in theory
- Knowing which older materials common in this area are worth repairing versus replacing
- Faster response for follow-up if a repair needs a check after the next storm season
- Direct accountability — the same local company that diagnosed the problem is the one standing behind the fix
Questions to Ask Before Hiring Anyone for Siding Repair
Whoever you hire, a few questions separate a real repair from a quick patch:
- Will you check what's behind the damaged siding, or only replace what's visible?
- What caused this damage, and how does your repair address that cause?
- Will the repaired material be fastened and flashed to the manufacturer's specification?
- What happens if the same issue reappears after the repair?
If a siding repair in Lynden is on your list, we're glad to take a look and give you a straight answer about what's actually going on — whether that's a simple fix or something bigger. Fill out the form below for a free, no-pressure estimate.