 Ferndale
 Building New in Lummi Nation: What the Climate Asks of Your Windows
If you're framing a new home on Lummi Nation land near Bellingham Bay or the Nooksack delta, you're building in one of the more demanding window climates in Whatcom County. Salt air off the water accelerates corrosion on the wrong hardware and fasteners. Driving rain off Georgia Strait pushes water sideways into rough openings that aren't flashed correctly. And a long, damp moss season keeps everything at or near saturation for months at a time, which punishes any window installation that relies on caulk alone to keep water out.
None of that is a reason to overbuild or overspend. It's a reason to get the water-management details right the first time, because on a new build you only get one clean shot at the rough opening before siding, trim, and paint cover it up. We install new-construction windows on homes in this area regularly, and the method doesn't change from job to job — what changes is how carefully each layer gets built before the window ever goes in.
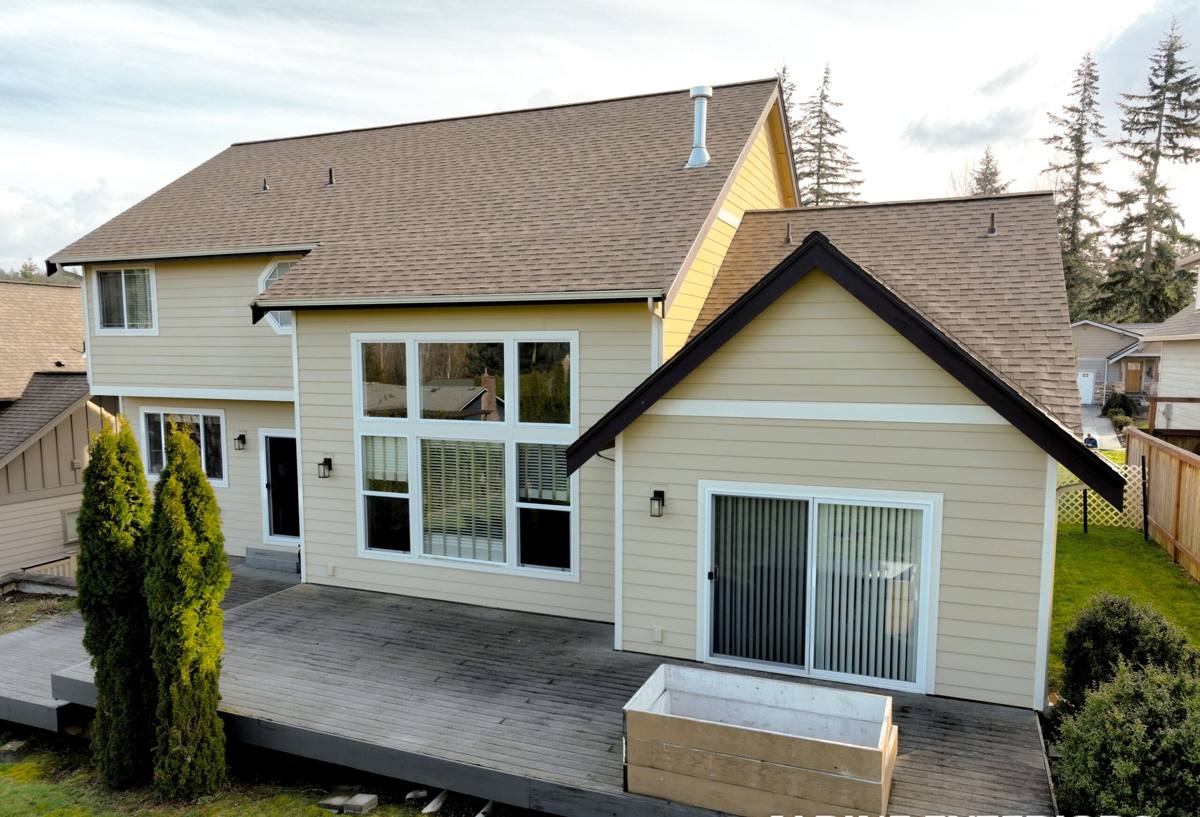
New-Construction vs. Replacement Windows — Why the Install Method Matters
New-construction windows have a nailing flange (fin) around the perimeter that gets fastened directly to the sheathing and integrated with the weather-resistant barrier (WRB) before siding goes on. That's different from a replacement or "pocket" window, which gets inserted into an existing frame after the fact with no access to the sheathing or house wrap. On a new build, we have the advantage of building the water-management system in the correct order — from the inside out — instead of working around what's already there.
That order matters more here than in a drier inland climate. A flanged window installed out of sequence, or with the WRB lapped the wrong direction, can look fine for a year or two and then start showing water staining at the sill or in the wall cavity below it. By the time that's visible, the fix usually means pulling trim and siding back off. Getting the sequence right at rough-in is far cheaper than fixing it later.
The Correct Layer Order
- Rough opening framed square, level, and to the manufacturer's specified dimensions
- Sill pan flashing installed and sloped to drain outward
- WRB (house wrap) integrated with the rough opening before the window is set
- Window set, shimmed level and plumb, and fastened through the flange per the manufacturer's schedule
- Jamb and head flashing lapped over the flange, then the WRB lapped over the head flashing
- Rain-screen gap and siding installed last
Getting the Water Management Right
Flashing the Rough Opening
Every rough opening gets a sill pan before the window ever touches it — either a manufactured pan or a properly lapped flashing-tape pan, sloped so any water that gets past the window drains back out to the exterior instead of sitting on the sheathing. This is the single detail most likely to be skipped on a rushed job, and it's the one that matters most in a climate where the window will sit under sustained rain for weeks at a stretch.
Head Flashing and Drip Caps
Above every window, a head flashing or drip cap directs water out and away from the top of the frame rather than letting it run down behind the trim. In driving-rain conditions, wind can push water sideways and even slightly upward under an eave, so the head flashing has to be lapped correctly with the WRB above it — shingle-style, water always moving down and out over the layer below.
Rain-Screen Gap Considerations
A ventilated gap between the WRB and the siding gives any moisture that does get past the cladding a way to drain and dry instead of sitting against the sheathing. On a site exposed to salt air and long wet stretches, that gap is what keeps the wall assembly drying between storms rather than staying damp all winter.
Choosing Window Materials for a Coastal Whatcom County Build
Material choice matters more near saltwater than it does further inland, mainly because of how frame materials and hardware hold up to airborne salt and constant moisture cycling.
| Frame Material | Corrosion / Salt-Air Behavior | Maintenance | Typical Cost Position |
|---|---|---|---|
| Vinyl | Doesn't corrode; UV and heat cycling are the main long-term concerns | Low — occasional cleaning | Lower |
| Fiberglass | Very stable in salt air and temperature swings; dimensionally matches glass expansion well | Low | Mid to upper |
| Aluminum-clad wood | Cladding protects the wood exterior; hardware and fastener spec matters more near saltwater | Moderate — exterior low, interior wood needs periodic attention | Upper |
| Bare aluminum | More prone to pitting and corrosion in salt-air exposure over time | Moderate to high | Lower to mid |
We don't have a single "right" answer for every build — it depends on your elevation, exposure to prevailing wind off the water, and your budget. What we do insist on for this area is corrosion-resistant fasteners and hardware regardless of frame material, since standard-grade screws and hinges are the first thing to show wear in a salt-air environment.
Coordinating With Your Builder — Our Process
Timing With the Framing Crew
We work directly with your general contractor to install once the rough openings are framed and inspected, but before the WRB is fully closed in — that's the window where the sill pan and flashing integration can be done correctly without cutting into finished work later.
Pre-Install Walkthrough
Before any window goes in, we check rough opening sizes against the window schedule, confirm sill pan slope, and verify the WRB lap direction. Catching a framing error here costs minutes; catching it after siding is on costs a callback.
Final Inspection and Warranty Paperwork
Once every window is set, flashed, and fastened, we walk the openings again, document the install for the manufacturer's warranty file, and hand your builder or you a straightforward record of what was installed and how — useful if a warranty question comes up years down the road.
Permitting and Jurisdiction Notes for Lummi Nation Lots
Depending on exactly where your lot sits, permitting and inspection may run through Whatcom County or through Lummi Nation's own tribal building authority rather than the county. We don't guess on this — it's worth confirming with your general contractor or the tribal building office early in the process, since inspection timing can affect when we're able to schedule the window install relative to framing sign-off. We're happy to work around whichever inspection schedule applies to your build.
What It Costs — Factors That Move the Number
| Factor | Why It Matters |
|---|---|
| Number and size of openings | Larger and more numerous windows mean more labor and material |
| Frame material selected | Vinyl, fiberglass, and clad-wood carry different material costs |
| Glass package | Standard double-pane low-E vs. upgraded coatings or triple-pane |
| Access and building height | Second-story and hard-to-reach openings take longer to flash and set |
| Flashing system complexity | Custom sill pans, unusual trim details, or non-standard openings add time |
| Site exposure | Fully exposed, wind-driven-rain elevations sometimes warrant upgraded flashing details |
We're not going to quote a number without seeing the window schedule and rough openings — anyone who does that on a new build is guessing. What we can tell you honestly: the install method and flashing detail matter more to long-term performance than the window brand you pick, so it's worth spending on doing the water management right before you spend extra on premium glass packages.
A Checklist Before Windows Go In
- Rough openings framed square, level, and confirmed against the window schedule
- WRB installed and ready to integrate at each opening, not fully closed in yet
- Sill pan flashing planned or installed with an outward slope at every opening
- Corrosion-resistant fasteners and hardware specified for this site's exposure
- Head flashing or drip caps included in the flashing plan for every opening
- Rain-screen gap detail confirmed with the siding installer
- Permitting jurisdiction (county or tribal) confirmed and inspection scheduling understood
- Manufacturer's installation instructions on hand for warranty compliance
Why a Local Ferndale Crew That Already Works Lummi Nation Matters
A window crew that mostly works inland jobs may install every window perfectly on paper and still miss the details that matter on a site exposed to salt air and driving rain off the water. We're based in Ferndale, we work new-construction jobs on Lummi Nation and elsewhere in Whatcom County through the wet season every year, and we know which elevations on a given lot take the worst of the weather before the first storm even hits. That's not a marketing line — it's the difference between a flashing detail that's technically correct and one that's actually built for where your house sits.
If you're framing a new home and want your window rough-ins done right the first time, we'll walk the site, look at your plans, and give you a straightforward, no-pressure estimate. There's a form below — reach out and we'll get back to you.