 Ferndale
 Window Installation Near Bellingham Bay Is a Different Job
Homes in and around Bellingham sit close enough to the water that salt air is part of daily life, whether or not you can see the bay from your yard. Add in Whatcom County's driving rain — the kind that comes in sideways off the Strait during a winter storm, not just straight down — and a moss season that can stretch from October well into spring, and you have a climate that is genuinely hard on window assemblies. Frames, sills, and the flashing behind them take a beating that homes in drier parts of the state simply don't experience.
We're a Ferndale-based crew, and Bellingham is part of our regular service area, not a place we drive to occasionally. That matters for window work specifically, because so much of whether a window performs well for the next 20 years comes down to details that have nothing to do with the window itself — how the opening was prepped, how the flashing was layered, and whether the installer understood what this specific climate does to a wall assembly over time.
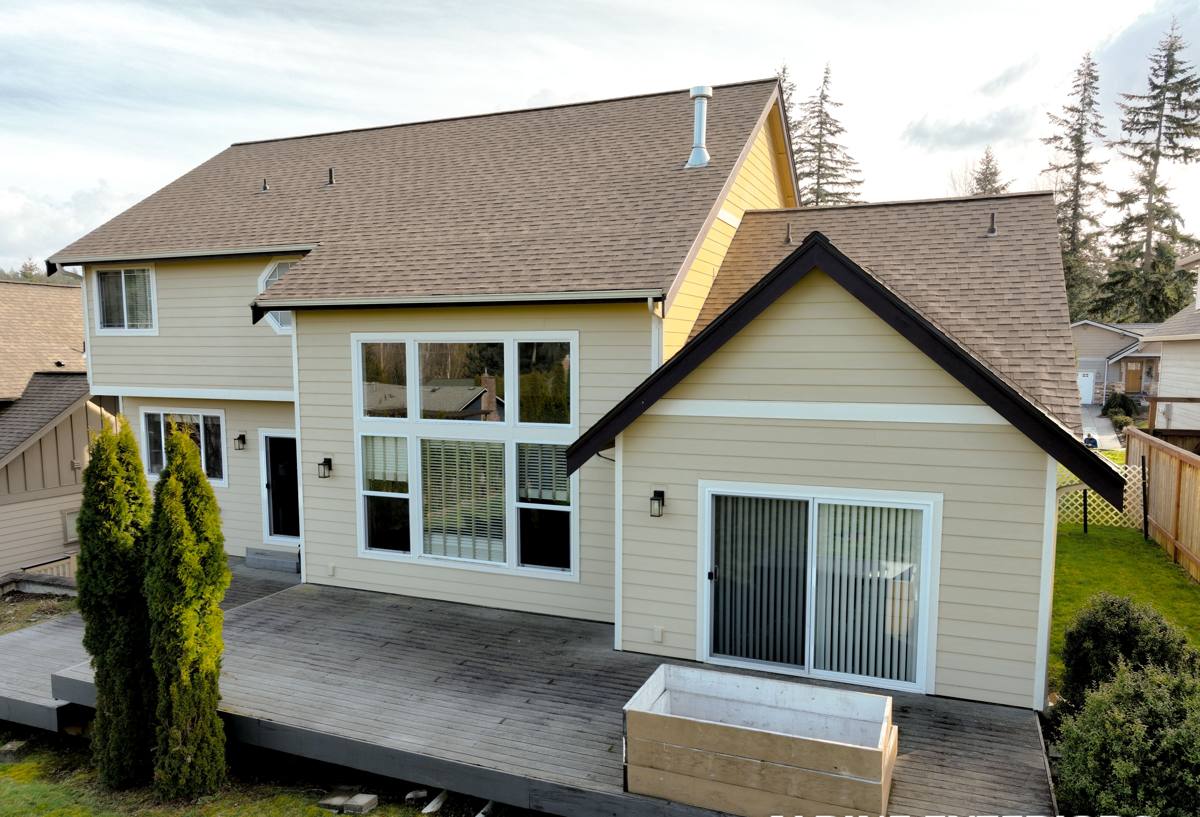
What Salt Air, Rain, and Moss Actually Do to Windows
Each of these factors attacks a different part of the window system, and understanding the failure mode helps explain why the installation details matter as much as the product you choose.
Salt Air
Airborne salt accelerates corrosion on exposed metal — hardware, some window balances, and lower-quality cladding fasteners are the usual casualties. It also breaks down certain sealants and finishes faster than they'd wear in an inland climate, which is why the caulking and sealant choices at install time matter more here than a generic spec sheet would suggest.
Driving Rain
Wind-driven rain doesn't just test a window's face seal, it tests everything behind the trim. Water that gets past the exterior finish needs somewhere to go — a properly built sill pan and flashing system directs it back out, while a shortcut installation lets it track down into the wall cavity, where it causes rot and mold long before anyone notices a leak at the window itself.
Moss and Persistent Dampness
Long stretches of overcast, damp weather keep moisture sitting on horizontal surfaces — sills, trim caps, and anywhere water can pool instead of shedding. That's what feeds moss and algae growth on and around window frames, and it's also what slowly saturates wood trim that isn't properly primed and sealed on all sides before installation.
Signs Your Current Windows Are Losing That Battle
Most window failures in this climate show up gradually. A few things worth checking before they turn into a larger repair:
- Soft or discolored trim or sill wood, especially on the bottom corners
- Fogging or moisture between the panes of a double-pane window — a sign the seal has failed
- Difficulty opening, closing, or locking that wasn't there a few years ago
- Visible gaps between the frame and siding, or caulk that's cracked and pulling away
- Moss or black staining building up on the sill or lower frame even after cleaning
- A noticeable draft near the frame during a windy, rainy stretch
- Paint or finish peeling specifically around the window, not the surrounding wall
Any one of these on its own isn't necessarily urgent. Several at once, especially on a window facing the prevailing weather, usually means the assembly is past the point where caulk and patience will hold it together.
What a Correct Installation Actually Involves
The window unit itself is only part of the job. The install sequence is what determines whether that window stays watertight through years of Whatcom County winters.
Sill Pan and Flashing First
Before a new window ever goes into the opening, the rough opening needs a sloped sill pan so any water that gets past the window has a path back outside instead of a place to collect. Flashing tape integrates with the house's weather-resistant barrier in the correct shingle-lap order — each layer overlapping the one below it — so water sheds downward and outward no matter which direction the rain is blowing.
Setting the Window Square, Level, and Properly Shimmed
A window that's slightly out of square will bind, won't seal evenly, and puts uneven stress on the frame that shows up as leaks or operating problems within a few years. Shimming at the correct points — not just wherever it happens to hold the unit in place — keeps the frame true and lets the sashes operate the way they were engineered to.
Insulating Without Overdoing It
The gap around the frame needs to be filled, but with a low-expansion foam or backer rod and sealant designed for window installation — not a can of standard spray foam, which expands with enough force to bow a vinyl or fiberglass frame inward and cause operating problems that won't show up until well after installation.
Exterior Sealant and Trim Detail
The exterior sealant bead is the first line of defense against driving rain, and it needs to be a product rated for exterior exposure and salt-air conditions, applied in a continuous bead with no gaps. Where trim or a header is involved, a small strip of kickout flashing at the top corner keeps water from running behind the trim and down into the wall — a detail that's easy to skip and expensive to fix later.
Choosing Window Materials for This Climate
There's no single "correct" material for every home — it depends on your budget, your home's style, and how much upkeep you're willing to do. Here's how the common options actually hold up around Bellingham and Ferndale.
| Material | How It Handles Salt Air & Rain | Maintenance | Typical Trade-Off |
|---|---|---|---|
| Vinyl | Good — won't corrode or rot, handles moisture well | Low; occasional cleaning | Fewer color/finish options; frame can't be repainted |
| Fiberglass | Very good — dimensionally stable, resists warping in wet-dry cycles | Low | Higher upfront cost than vinyl |
| Aluminum-clad wood | Good on the exterior face; wood interior needs the seal to stay intact | Moderate — depends on maintaining the seal at joints | Higher cost; best when detailing is done correctly |
| Solid wood | Poor without diligent upkeep — most exposed to moss, rot, and salt-driven finish breakdown | High; regular refinishing needed | Best natural appearance, but the most demanding in this climate |
For homes with real weather exposure — facing prevailing winds off the water — we generally steer clients toward vinyl or fiberglass for lower-maintenance, moisture-tolerant performance. Aluminum-clad wood can look excellent and perform well too, but only when the cladding-to-wood seal is installed and maintained correctly, since a compromised seal traps moisture against wood rather than shedding it.
New Construction vs. Replacing Existing Windows
These are genuinely different jobs, and it's worth knowing which one applies to your project.
New Construction Windows
Used when the wall is open to the studs — new builds, additions, or a full siding tear-off. The window's nailing fin attaches directly to the framing, and flashing integrates with the house wrap before siding goes back on. This is the more thorough approach and the standard for anything beyond a straight swap.
Replacement (Retrofit) Windows
Used when the existing frame is sound and the surrounding siding and trim stay in place. The new window is sized to fit inside the old frame opening. This is faster and less invasive, but it depends entirely on the existing frame and flashing being in good condition — if the old assembly already has hidden moisture damage, a retrofit window installed over it doesn't fix the underlying problem.
Part of a proper estimate is checking which situation you're actually in before quoting the job, since installing a retrofit window into a compromised opening just buys a few more years before the same problem resurfaces.
Our Process, Start to Finish
- On-site assessment. We look at each window opening individually — sill condition, existing flashing (where visible), and whether you're a candidate for retrofit or need new-construction detailing.
- Straightforward estimate. You get a written scope covering material, install method, and what's included — no vague line items.
- Opening prep. Old sealant and, where needed, damaged trim or sheathing is removed so we're not sealing over a hidden problem.
- Sill pan and flashing installed correctly, integrated with the existing weather barrier in proper shingle-lap sequence.
- Window set, shimmed, and insulated with attention to square, level, and plumb before anything is sealed.
- Exterior sealant and trim finished, including kickout flashing at header corners where applicable.
- Final walkthrough — every window operates, locks, and seals the way it should before we consider the job done.
What Affects the Cost of a Window Installation
We're not going to quote pricing on a page like this, since it depends on your specific home, but these are the real cost drivers worth understanding before you start comparing bids.
| Factor | Why It Matters |
|---|---|
| Retrofit vs. new construction | New construction involves more labor and trim work, especially if siding has to come off and go back on |
| Window material | Vinyl is typically the most budget-friendly; fiberglass and clad-wood cost more up front |
| Number and size of openings | Larger units and multi-panel configurations take longer to set and flash correctly |
| Condition of the existing opening | Hidden rot or damaged sheathing found during removal adds repair work before the new window goes in |
| Glass package | Low-E coatings and gas fills add cost but improve comfort and efficiency in our damp, mild climate |
| Trim and finish work | Matching existing exterior trim profiles or repainting/staining adds labor beyond the window itself |
A low bid that skips sill pan flashing, uses standard spray foam, or rushes the exterior seal will usually look identical to a correct install on the day it's finished. The difference shows up two or three winters later, which is exactly why the installation method matters more than most homeowners realize when comparing quotes.
Why Hiring a Crew That Already Works in Bellingham Matters
Window installation isn't a one-size-fits-all trade. A crew that mostly works in a drier inland climate may do fine work there and still under-detail a job here, simply because the failure modes they're used to guarding against are different. Working regularly in Ferndale, Bellingham, and the surrounding Whatcom County communities means we're dealing with salt-air corrosion, wind-driven rain, and moss-prone shade patterns on a routine basis — it shapes which materials we recommend, how we detail flashing, and where we tell a homeowner an upgrade is or isn't worth the money.
Local also means accountability. If a seal needs a second look after the first real winter storm, we're not far away and not hard to reach. That's worth factoring in alongside price when you're vetting contractors for a job that's supposed to last decades, not just look good on installation day.
After Installation: Keeping Windows Performing in This Climate
A correctly installed window still benefits from basic upkeep, especially given the moss and moisture pressure in this area.
- Rinse sills and frames a few times a year to clear pollen, salt residue, and moss spores before they take hold
- Check exterior caulk lines annually, particularly after a hard winter, and touch up any cracking before it lets water in
- Keep gutters and downspouts clear so roof runoff isn't dumping extra water directly onto upper-floor windows
- Trim back vegetation that keeps windows shaded and damp longer than the rest of the house
- Operate each window a few times a season, even ones you rarely open, so hardware doesn't seize up
None of this replaces a correct installation, but it does extend the life of one — and it's a lot cheaper than dealing with hidden water damage a few years down the road.
If your windows are showing any of the warning signs above, or you're planning a renovation and want it done with this climate in mind, we're happy to take a look and walk you through what we see — no pressure, no obligation. Use the form below to request a free estimate.