 Ferndale
 Building New in Semiahmoo? The Windows Have to Earn Their Keep
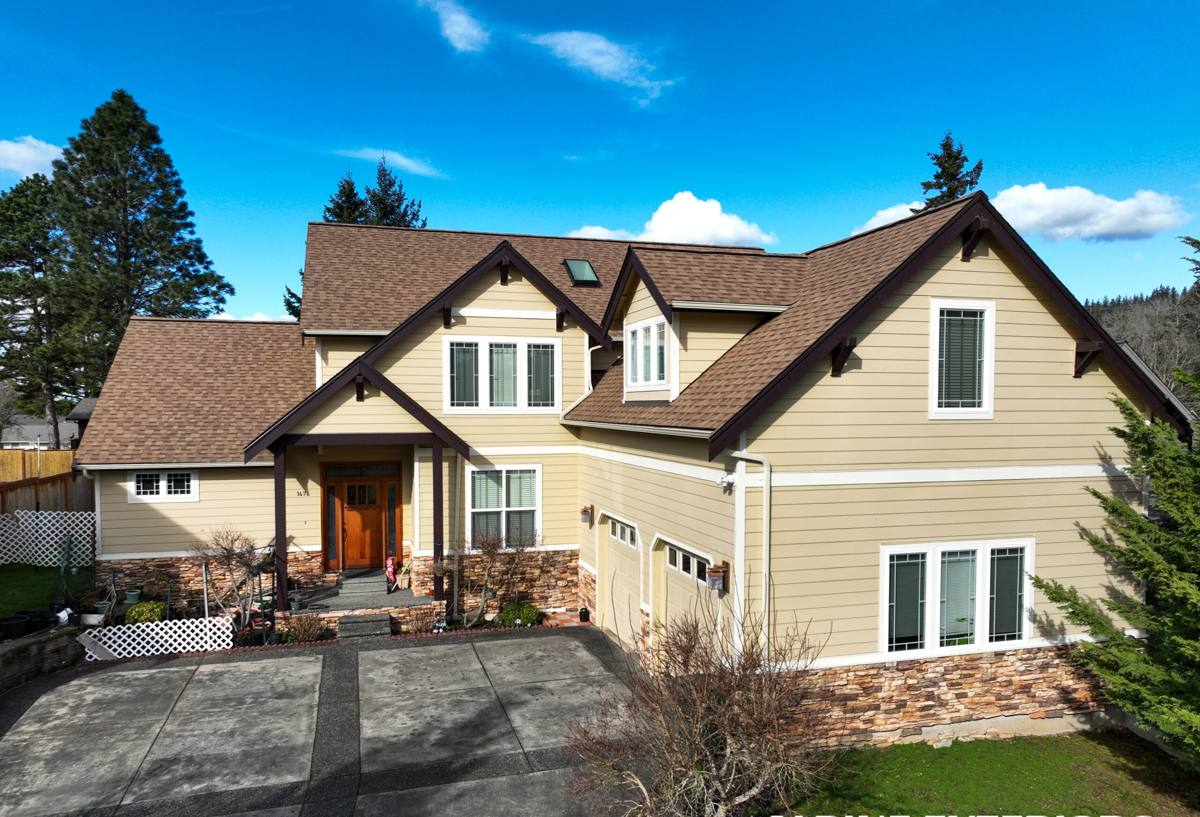
If you're framing a new home in the Semiahmoo area, the window package isn't a spot to cut corners or treat as an afterthought once the shell is up. This is a coastal corner of Whatcom County, and the combination of salt-laden air, wind-driven rain off the water, and a long, damp moss season puts real, sustained stress on window units and the openings around them. A window that would be perfectly fine on a sheltered inland lot can underperform here — not because the glass is bad, but because the frame, the flashing, or the installation wasn't matched to what this specific location throws at a building envelope.
New construction is actually the best time to get this right. Unlike a retrofit, you're not working around existing siding, trim, or interior finishes — you get to build the window opening, the flashing plane, and the water management system correctly from the studs out. Done well, that work is invisible. Done poorly, it shows up as staining, soft trim, or interior moisture two or three winters later, usually right when it's hardest and most expensive to trace back to its source.
What "New-Construction Windows" Actually Means
New-construction windows are built with an integral nailing fin around the perimeter of the frame. That fin gets fastened directly to the sheathing before the weather-resistive barrier and siding go on, which lets us build a proper shingle-lap flashing system around the opening — sill pan, jamb flashing, and head flashing all lapped in the correct order so water is directed out and down, never trapped behind the frame.
Nail Fin vs. Block Frame
This is different from a block-frame or "replacement-style" window, which is designed to be inserted into an existing opening without disturbing the surrounding siding. Block-frame units rely more heavily on sealant at the perimeter to stop water, which is a reasonable approach for a retrofit but a step down from what's achievable on a new build. On new construction, there's no reason to accept a sealant-dependent installation when a fully integrated, mechanically-fastened and flashed one is available.
Why the Distinction Matters Here
On a low-exposure inland lot, the difference between these two approaches might never show up as a problem. On a Semiahmoo build facing open wind and rain, it matters a lot more, because the flashing system — not the caulk bead — is what's doing the real work of keeping water out of the wall assembly over the next twenty or thirty years.
What This Climate Demands From a Window Package
Salt Air and Coastal Exposure
Homes near the water in this part of Whatcom County are exposed to airborne salt that accelerates corrosion on fasteners, hardware, and lower-grade metal components. This is a hardware and finish issue as much as a glass issue — hinges, locks, and screen frames on cheaper window lines can pit or corrode years before the sash itself shows any wear. We pay attention to hardware grade and finish, not just the glass package, for exactly this reason.
Wind-Driven Rain
Rain that arrives sideways under wind pressure behaves differently than rain that just falls straight down. It gets pushed into laps, seams, and any gap in the flashing that a calmer climate could get away with ignoring. That's why sill pan flashing — a dedicated sloped pan under the window that captures and redirects any water that gets past the sash — isn't optional here. It's the single most important detail in a coastal new-construction window install.
Moss, Mildew, and a Long Damp Season
Whatcom County's extended stretch of wet, mild weather is exactly the environment moss and mildew favor. On window installations, that shows up less on the glass and more on horizontal trim surfaces, sills, and any spot where water sits instead of shedding. Sill design, drip cap placement, and the slope built into the sill pan all affect how much moisture lingers around the frame — and moisture that lingers is what eventually feeds rot, not moisture that sheds quickly.
Choosing Window Specs for a Semiahmoo Build
Frame material is one of the first decisions on a new build, and it's worth weighing against this specific climate rather than a generic recommendation.
| Frame Material | Salt Air / Moisture Handling | Maintenance Load | Relative Cost |
|---|---|---|---|
| Vinyl | Good — won't corrode or rot; seams are the main watch point | Low | Lower |
| Fiberglass | Very good — dimensionally stable, resists moisture and salt exposure well | Low | Mid to higher |
| Wood-clad (exterior clad) | Good on the exterior face; interior wood still needs protection from condensation | Moderate | Higher |
| Aluminum | Prone to corrosion in salt air unless marine-grade finish is specified | Moderate to high | Varies |
There isn't one universally "correct" choice — it depends on the home's design, budget, and how exposed the specific elevation is. What we won't do is recommend a frame material or hardware finish that's a poor match for a waterfront-adjacent property just because it's the cheaper stock option. Glass packages matter too: a double-pane low-E unit with appropriate argon fill and a warm-edge spacer performs well for both the energy side and condensation resistance most homes in this area need through the wetter months.
How We Flash and Install for a Weathertight Result
The window unit itself is only part of the story — the installation sequence is what determines whether the flashing system actually functions as designed.
Sequence We Follow
- Rough opening is checked for square, level, and correct dimension before anything is installed
- Weather-resistive barrier is cut and prepped at the opening with proper corner detailing
- A sloped sill pan is installed at the base of the opening, lapped over the barrier
- Jamb flashing is applied up both sides, over the sill pan legs
- Window is set, shimmed level and plumb, and fastened through the nailing fin per manufacturer spacing
- Head flashing is installed last, lapping over the housewrap above and integrating with the drainage plane
- Interior and exterior sealant is applied only where specified — sealant supplements the flashing, it doesn't replace it
That order matters. Flashing has to shingle correctly — each layer lapping over the one below it — so that any water working its way down the wall is always directed out and away from the opening rather than behind it. An installer who skips the sill pan or seals the bottom of the nailing fin (trapping water inside the opening instead of letting it drain) is creating a problem that won't surface until well after the home is finished and occupied.
Our Process on a New Build
We coordinate directly with the general contractor and framing schedule rather than treating window installation as an isolated trade that shows up whenever.
- Review plans and window schedule before ordering, checking sizes, swing/operation types, and egress requirements against the design
- Verify rough openings on site match ordered unit sizes before installation day
- Confirm weather-resistive barrier and flashing tape are compatible with the window manufacturer's specifications
- Install using the shingle-lap sequence appropriate for this climate, with sill pans on every opening
- Photograph flashing details before siding covers them, for the homeowner's records
- Walk every window for operation, seal, and hardware function before final sign-off
Mistakes We See on New Builds in This Area
Most window problems on new construction trace back to a handful of avoidable issues rather than defective units. Skipped or improvised sill pans are the most common — some crews rely on sealant alone at the sill, which works until it doesn't. Reversed flashing laps, where head flashing goes in before the housewrap is properly integrated above it, is another one we catch and correct. And mismatched fastener types — using fasteners that aren't corrosion-resistant in a salt-air environment — shorten the life of the hardware even when the window itself is a good product.
None of these are hard to avoid. They just require a crew that's paying attention to sequence and has installed enough windows in this specific climate to know which shortcuts don't hold up here, even if they'd be fine somewhere drier.
Why Local Installation Experience Matters
Window installation instructions from a manufacturer are written to cover a wide range of climates and conditions. They're a baseline, not a complete answer for every site. A crew that regularly works new construction around Ferndale and the surrounding Whatcom County coastline has already seen how salt exposure, wind-driven rain, and a long wet season actually play out on real openings over time — which sill designs hold up, which hardware finishes hold up, and which flashing sequences actually keep water moving out instead of in. That's the kind of judgment that doesn't come from a spec sheet, and it's the difference between a window package that looks right on install day and one that's still performing correctly ten winters later.
After Move-In: What Keeps These Windows Performing
A correctly installed window still benefits from basic upkeep. Weep holes at the sill should stay clear of debris so water can drain as designed. Exterior trim and sills are worth a visual check each fall before the wet season sets in, watching for any soft spots or staining that could signal a flashing issue rather than just surface weathering. Hardware — locks, hinges, cranks — should move freely; anything binding or gritty is worth addressing early, especially given the corrosive effect salt air can have over time.
If you're planning a new build in the Semiahmoo area and want a window package specified and installed for what this climate actually demands, we're happy to walk through your plans and put together a free, no-pressure estimate. Use the form below to get started.